TouchScreenTravels logo

TouchScreenTravels

Our Touch, your Travels…

This is a preview of the full content of our York’s Best app.

Please consider downloading this app to support small independent publishing and because:

  • All content is designed for mobile devices and works best there.
  • Detailed in-app maps will help you find sites using your device’s GPS.
  • The app works offline (one time upgrade required on Android versions).
  • All advertising (only present on Android versions) can be removed.

The app will also allow you to:

  • Add custom locations to the app map (your hotel…).
  • Create your own list of favourites as you browse.
  • Search the entire contents using a fast and simple text-search tool.
  • Make one-click phone calls (on phones).
iOS App Store Google Play

Monk Bar

The bar that tried to be a fort

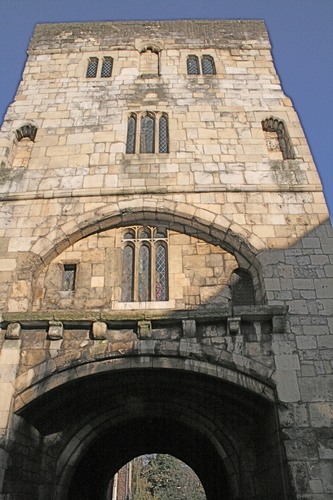
This is the tallest, and most elaborate, of York's bars, with four floors, and was built in the 1300s in such a way that each floor could be defended separately. It replaced an original Roman gate further along the walls.

The coat of arms on the outside is of the Plantagent royal house. Look for the small statues on the battlements, showing wild men ready to hurl rocks on attackers. The gallery on the bar was built for this very purpose. The bar can still be closed with its working portcullis.

Rooms in the bar currently house a small museum, but in the past they have been used as a home, and even as a jail where Roman Catholics were held. (Note that while access to Monkbar is free, there is an admission charge for the museum.) The small museum is dedicated to Richard III as the Richard III Experience. (Micklegate Bar houses the Henry VII Experience.)

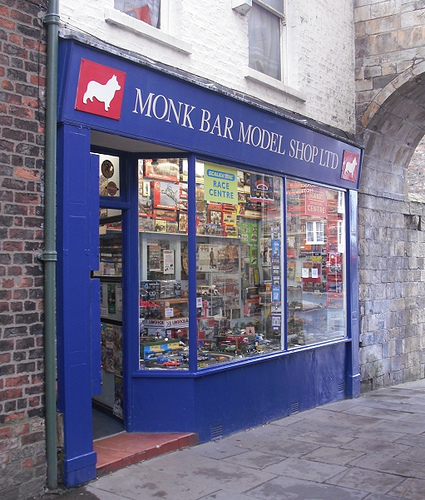
TIP Nestling in the shadow of the bar is the Monk Bar Model Shop, a mecca for train and other model enthusiasts of all ages.

Practical Info Practical Info icon

Inside the Walls

1200–1600: Medieval York

The Minster Area

Walk the Walls In-Half-A-Day

A popular way to get an overview of the city

York In-Two-Days: Day 1

The Minster Area Explored

Text © Raymond Williams

Images by